


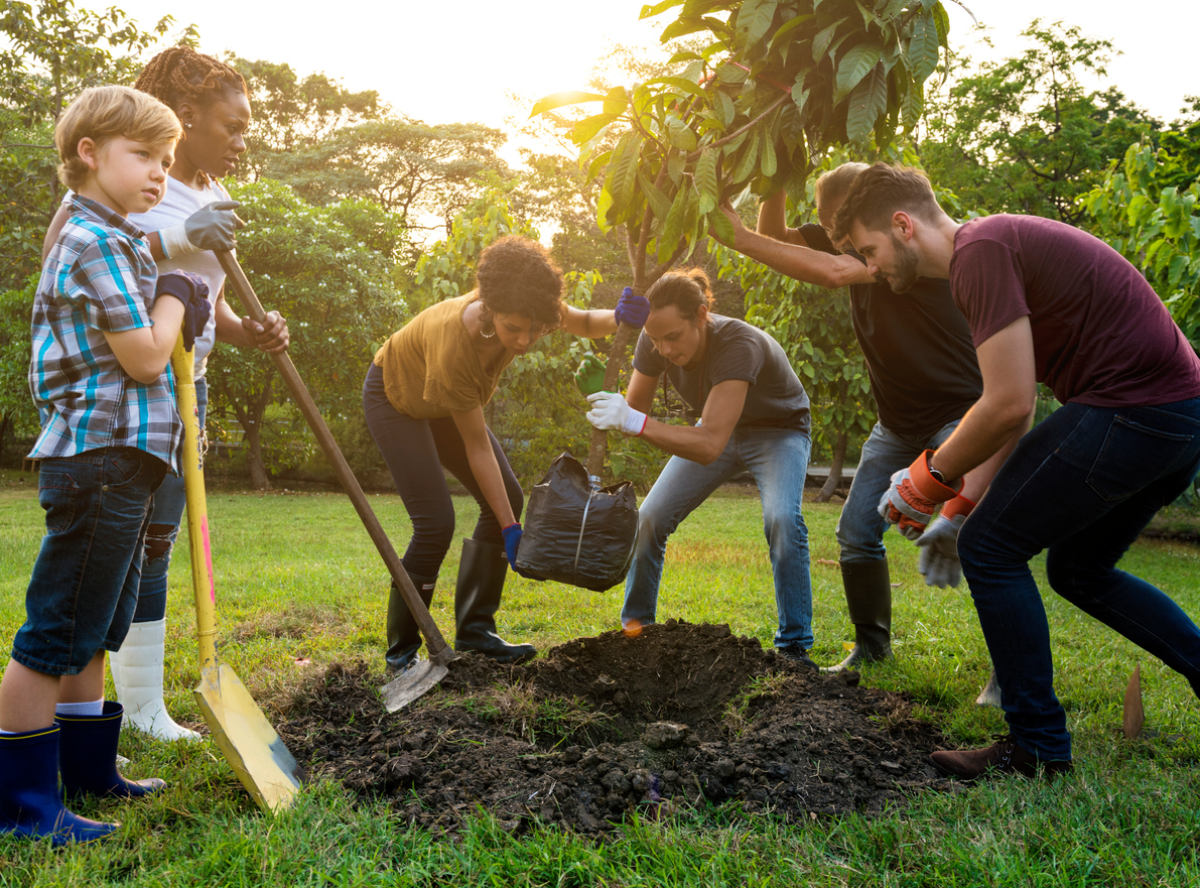
The best time to transplant a tree is late fall or winter, after leaf drop, when the tree enters dormancy. Transplanting in early spring is also effective before leaf-out, typically between March and April. Moving a tree from one location to another during these windows gives roots time to establish in the ground before summer growth resumes. Success after you transplant a tree depends on careful aftercare: slow, deep watering for at least one full growing season, 2 to 3 inches of mulch kept 3 to 4 inches off the trunk, and protection from heat stress, wind, and animal browsing.
If your tree needs professional tree planting or relocation beyond what shovels and tarps can handle, Taylor Expert Arborists can assess the site, calculate root ball dimensions, manage transport, and provide aftercare. Our residential tree services cover everything from root pruning months ahead of the move to post-transplant monitoring through the first growing season.
Key Takeaways
- Transplant deciduous trees during dormancy in late fall (after leaf drop) or early spring (before buds break) to reduce transplant shock.
- A small tree is defined as having a trunk diameter of 2 inches or less; most homeowners can move trees up to 4 inches DBH with help and the right tools.
- Prepare the new planting hole before digging up the tree: dig it 2 to 3 times wider than the root ball, with sides that slant inward.
- Keep the root ball intact during the entire transplanting process; wrap it in burlap and lift by the root ball, never by the trunk.
- Aftercare determines survival: water at least once a week, apply 2 to 3 inches of mulch around the base, and avoid fertilizing the tree during its first year after transplanting.
Can You Transplant a Tree Without Killing It?
Several factors determine whether a tree survives the transplanting process:
- Species: oak trees and maples have deeper root systems that respond more slowly to transplanting than shallow-rooted species. Evergreens carry foliage year-round, increasing water loss during the move.
- Size: A small tree is defined as having a trunk diameter of 2 inches or less. A tree with a trunk diameter of 1 to 1½ inches is manageable for homeowners using basic tools. Most homeowners can move trees up to 4 inches DBH with help.
- Health: trees with disease, pest holes, or weak branch structure recover poorly.
- Root condition: girdling roots or pot-bound root systems reduce survival odds.
Small saplings with compact root systems tolerate the move better because their total root volume is smaller and the root ball stays lighter. Established trees with a trunk diameter above 4 inches lose a larger proportion of their absorbing roots during digging, and recovery stretches across multiple growing seasons.
Understanding When and Whether to Transplant a Tree
Timing and tree size are the first decisions before any digging. If you are planning a move for fall 2026, aim for mid-October through late November, after leaves drop. For early spring 2027, target March through April before buds break.
Transplant deciduous trees during dormancy in late fall or early spring. Most trees can be transplanted after leaves drop in fall. Transplanting trees in spring should occur before buds break. Evergreens do best when moved in early spring or late summer (late August through mid-September), when new needles are not actively growing.
Summer transplanting is risky due to heat stress. Dormancy means no active leaf growth, so the tree’s root system faces less water demand. Moving a tree in July, by contrast, forces damaged roots to supply water to a full canopy under peak sun.
DBH and size thresholds:
| Category | Trunk Diameter (DBH) | Feasibility |
|---|---|---|
| Small trees | ≤ 2 inches | One or two people, basic tools |
| Moderate | 2–4 inches | Experienced homeowner with help |
| Large tree | > 4 inches | Professional equipment required |
DBH (diameter at breast height) is measured with a tape at 4.5 feet above the ground. This number guides root ball size and tells you whether the transplanting process is realistic for your yard.
Do not transplant at home if the tree shows obvious trunk damage, active disease, or sits directly under power lines. If you must transplant a tree outside ideal timing, plan for aggressive watering, temporary shade cloth, and possibly reducing some branches to lower water demand.
Planning the Move: Site Selection and Tree Size Decisions
Before shovels hit the ground, confirm two things: the new location suits the tree, and the tree is worth moving.
Match the new planting site to the tree’s needs. Full sun species need 6 or more hours of direct light. Check soil drainage by digging a test hole and filling it with water; if water sits for more than 24 hours, the site drains poorly. Allow enough room for the tree’s mature height and spread. A maple, for example, can reach 40 to 60 feet tall, so plant at least 15 to 20 feet from buildings, driveways, and septic systems.
Inspect the existing tree before committing: look for a straight trunk, healthy buds, normal bark color, and no girdling roots circling the base. If the tree fails this check, transplanting will likely waste your effort.
Consider access. You need a clear path from the old site to the new hole for wheelbarrows or a dolly. Delays while roots sit exposed in open air reduce survival.
Preparing the New Planting Hole
Prepare the hole before digging up the tree. This keeps the root ball’s exposure time as short as possible.
Sizing the hole:
- Width: the planting hole should be 2 to 3 times wider than the root ball. For a 2-inch DBH small tree with a root ball about 24 to 30 inches in diameter, dig a hole 4 to 5 feet wide. Some sources recommend digging the hole five times the root ball diameter for the loosened soil zone; at minimum, dig the hole twice as wide as the root ball.
- Depth: the hole should be 10 to 12 inches deep, or slightly shallower than the root ball height. The top of the root ball must sit just above the surrounding soil surface after settling.
The hole should slant inward without straight-cut sides. Roughen or slope the walls with a sharp spade so new roots can penetrate outward. Slick vertical walls act like a pot and restrict root growth.
Keep topsoil and subsoil in separate piles. Use native soil for backfill; heavy amendment with compost creates a bathtub effect in clay. For sandy soils, plan on more frequent watering and thicker mulch. Locate the root flare (where the trunk widens at the base) and confirm it will sit at or above the final soil line.
Digging and Protecting the Root Ball
This step is the most physically demanding part of transplanting trees. A general rule is to plan for a root ball diameter of 10 to 12 inches for every 1 inch of trunk diameter. The root ball should be at least twice the width of the tree’s trunk.
Step-by-step preparation:
- Water the tree thoroughly 1 to 2 days before transplanting to reduce stress and help soil hold together.
- Mark a circle at the chosen radius around the trunk.
- Dig a trench around the tree 12 to 24 inches deep using a sharp spade.
- Undercut from one side to shape the root ball from below. Carefully tip the ball slightly to slide burlap underneath.
Keep the root ball intact. Do not shake off soil or break large roots. If delays occur, mist exposed roots and cover with damp burlap.
Wrap the root ball in burlap to keep it intact: carefully slide the burlap under the ball, pull it up the sides, and tie it with twine. For short, immediate moves, a tarp or thick plastic can substitute.
Lift and move the tree by supporting the wrapped root ball. Never grab the trunk or branches. For trees near the upper DBH limit, use a hand truck, wheelbarrow, or plywood sled to reduce strain.
Moving and Replanting the Tree
Move quickly from the old site to the new planting hole. Every hour of root exposure increases the risk of transplant shock.
Two or more people can lift the root ball using a tarp as a sling to move the tree safely. For moderate distances, carefully slide the wrapped ball across the ground on the tarp. A dolly works for heavier root balls.
Orient the tree in the new hole. If you know the original north-south orientation, preserve it. Check that the trunk stands upright from multiple angles. The top of the root ball should sit 1 to 2 inches above surrounding ground level to allow for settling.
Once the tree is stable, partially remove the burlap: cut away or loosen it from the top and sides, and remove any synthetic wrapping entirely. Roll leftover natural burlap into the bottom of the hole.
Backfill with native soil and water thoroughly during backfilling. Fill in layers, gently firming with your hands or feet to eliminate air pockets. When the hole is about two-thirds full, water slowly to settle soil and displace remaining air pockets. Finish filling, create a shallow watering basin at the root ball edge, and water again.
Aftercare: Watering, Mulching, and Protecting Transplanted Trees
Most transplant failures happen in the first one to two years because of poor aftercare, not mistakes in digging.
Watering: Water the tree at least once a week after transplanting. A slow trickle from a soaker hose for 30 to 60 minutes soaks the root ball and surrounding soil to the right depth. Keep the soil moist until freeze-up after transplanting. Adjust frequency for rainfall and soil type; clay holds water longer than sand.
Mulching: Apply 2 to 3 inches of mulch around the base of the tree, extending several feet past the root ball. Keep mulch 3 to 4 inches away from the trunk to prevent rot and rodent damage.
Staking: Stake the tree only if strong winds are a concern. Use two stakes outside the root ball with loose ties. Remove stakes after one growing season.
What to skip: Avoid fertilizing the tree during its first year after transplanting. Skip heavy pruning. Protect the trunk from lawnmowers and string trimmers.
Monitor through the first full year. Watch for wilting, leaf scorch, or dieback. If leaves emerge weakly or branches die back, check soil moisture at root depth and provide temporary shade. Recovery takes roughly one year per inch of trunk diameter under good conditions.
Special Considerations for Small Trees vs. Large Trees
The basic principles of tree planting and transplanting apply at every scale, but practicality differs.
Small trees (up to 2 inches DBH) have root balls under 30 inches in diameter. Two people can move them with a tarp or hand truck. Young maples, ornamental crabapples, and nursery stock fall in this category. Trees larger than 2 inches should be moved by professionals when possible because the root ball weight and diameter scale up fast.
A large tree (trunk diameter above 4 inches) can have a root ball 4 to 6 feet across, weighing hundreds of pounds. Moving it requires a tree spade, crane, or trailer. The transplanting process for a large tree also demands precise root ball calculations and specialized burlap and sling techniques.
Costs range from under a hundred dollars in materials for a small DIY transplant to several thousand dollars for a professionally moved mature shade tree.
If you are unsure whether your tree qualifies as a small tree or a large tree for transplanting purposes, measure DBH and get at least one professional opinion before you dig.
When Should You Hire a Professional Arborist to Move a Tree?
Hire a professional when:
- The root ball exceeds 3 to 4 feet in diameter or weighs more than you can safely lift.
- The tree sits near power lines, on steep ground, or within 15 feet of a building.
- The tree has high monetary, heritage, or ecological value.
- Root pruning, crane rigging, or specialized transport is needed.


