


Trees and turfgrass are natural competitors, and forcing them to share the same soil space often leads to a struggle for resources. If you want your landscape trees to thrive, grow vigorously, and remain structurally sound for decades, you must mimic their natural environment. This means eliminating the competing turf and replacing it with a protective, nutrient-rich layer of organic material.
Before diving into extensive landscaping modifications, especially if your tree already shows signs of canopy dieback or stunted growth, we highly recommend scheduling a comprehensive tree health inspection with a certified professional. A thorough evaluation ensures that your tree does not have underlying disease or pest issues that require attention before altering its root zone.
In this comprehensive guide, we will walk you through the exact steps, techniques, and arboricultural best practices to establish a healthy mulch ring. We will explore various removal methods, discuss what types of mulch work best, and show you how to avoid common mistakes that harm tree health.
Why Removing Grass Around Trees for Mulch is Essential
Many homeowners assume that because grass and trees look beautiful together in a park setting, they naturally complement each other biologically. In reality, turfgrass and woody plants operate on entirely different biological wavelengths. Understanding why you are removing this grass will help you execute the job more effectively.
Eliminating the Fierce Competition for Resources
Tree root systems do not dive hundreds of feet straight down into the earth. The vast majority of a tree’s feeder roots—the tiny, hair-like structures responsible for absorbing water and dissolved minerals—live within the top twelve to eighteen inches of the soil profile. Unfortunately, this is the same soil layer dominated by the dense, fibrous root systems of turfgrass.
Because grass roots form a thick mat directly at the surface, they intercept rainfall and irrigation long before the moisture can percolate down to the tree roots. Grass also aggressively consumes nitrogen, phosphorus, and potassium. By removing grass around trees for mulch, you instantly eliminate this fierce competition. The tree suddenly gains exclusive access to the water and nutrients in that designated zone, leading to noticeable improvements in leaf size, canopy density, and overall vitality.
Protecting the Trunk from Mechanical Damage
Lawnmowers and string trimmers are the natural enemies of tree trunks. When grass grows directly up to the base of a tree, landscape maintenance requires bringing heavy, sharp machinery dangerously close to the bark. A single slip of a string trimmer can slice through the tree’s bark and sever the cambium layer—the vascular tissue responsible for transporting water and nutrients between the roots and the leaves.
Arborists refer to this as “mower blight.” Repeated mechanical damage creates open wounds that invite wood-decaying fungi and boring insects. Furthermore, if a trimmer severs the cambium layer entirely around the circumference of the trunk, it girdles and kills the tree. Establishing a wide mulch ring acts as a physical buffer, keeping dangerous equipment far away from the sensitive bark.
Improving Soil Structure and Temperature Regulation
Turfgrass requires frequent foot traffic and heavy mower traffic, which eventually compacts the soil. Compacted soil lacks pore space, meaning oxygen cannot reach the tree roots, and water tends to run off the surface rather than soaking in.
When you replace that turf with organic mulch, the mulch begins to break down over time. As it decomposes, it encourages the proliferation of earthworms, beneficial soil microbes, and mycorrhizal fungi. These organisms naturally aerate the soil, reducing compaction. Additionally, a thick layer of mulch acts as an insulating blanket. It keeps the soil significantly cooler during the scorching heat of summer and prevents rapid freezing and thawing during the bitter cold of winter, creating a stable, stress-free environment for root growth.
Evaluating Your Tree and Preparing the Site
Before you grab a shovel and start digging, take time to evaluate the site. Planning the dimensions of your project and gathering the right materials will make the physical labor much easier.
Determining the Size of the Mulch Ring
The most common mistake property owners make is creating a mulch ring that is far too small. A tiny circle of mulch extending only a few inches from the trunk provides almost no biological benefit to the tree’s expanding root system.
As a general rule, the wider the mulch ring, the better it is for the tree. Arborists recommend creating a ring that extends at least three to five feet outward from the trunk in all directions. For mature, established trees, extending the mulch ring all the way out to the “drip line”—the imaginary ring on the ground where the outermost leaves shed rain—is the absolute gold standard. While this may not always be practical in a small suburban yard, you should aim to make the circle as large as your landscape design allows.
Gathering Your Tools and Materials
Depending on the method you choose to remove the turf, you will need to prepare a specific set of tools. Having everything on hand prevents unnecessary delays once the project begins.
- A sharp, flat-edged garden spade or half-moon edger
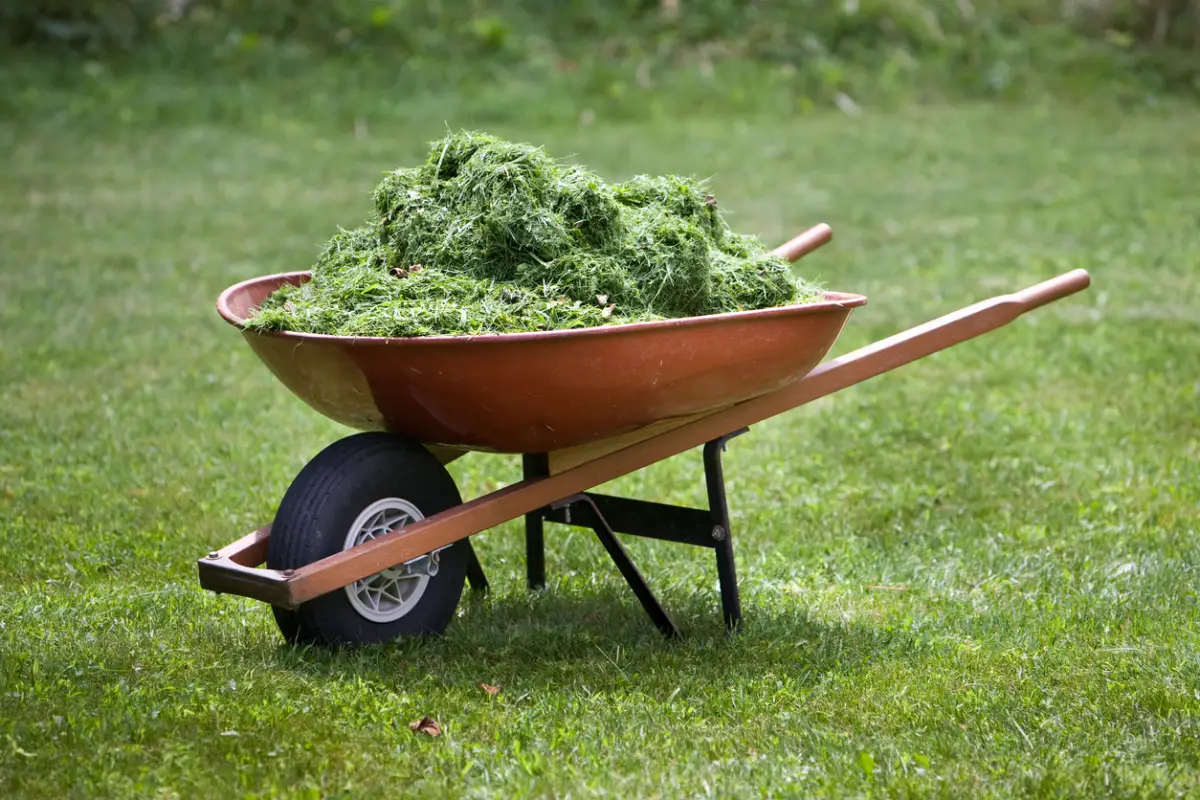
- A sturdy wheelbarrow for transporting soil and mulch
- Heavy-duty gardening gloves
- A garden hose or marking paint to outline your circle
- A pitchfork or mulch fork for moving organic material
- Cardboard or heavy newspaper (if utilizing the sheet mulching method)
- High-quality organic mulch
How to Remove Grass to Mulch Around Trees: 4 Effective Methods
There is no single correct way to eradicate turfgrass. The method you select depends heavily on the size of the tree, the type of grass you are dealing with, and the amount of physical labor you are willing to invest. Here are the four most effective techniques for clearing the root zone.
Method 1: The Manual Digging Approach
Manual removal remains the most traditional and precise method, especially for younger trees or smaller yards. It requires physical exertion but allows you to control exactly how deep you cut, minimizing the risk of damaging shallow tree roots. If you are looking for the best way to remove grass around tree trunk areas without causing accidental harm, careful manual digging is the answer.
Begin by using a garden hose or a can of landscaping paint to draw a perfect circle around the tree. Once you are satisfied with the shape, take a sharp half-moon edger or a flat-blade spade and cut along the perimeter of the circle, pressing the blade about three to four inches into the soil.
Next, move inside the circle and begin slicing the grass into manageable, square sections—similar to cutting a pan of brownies. Once the grass is scored, slide your flat spade underneath the root system of the turf. Your goal is to skim the grass off the surface while removing as little topsoil as possible.
Always proceed with extreme caution as you approach the base of the tree. Many tree species produce surface roots that sit just below the grass line. If your spade hits a large, woody root, stop immediately. Do not chop through tree roots to remove the grass. Instead, carefully peel the grass away from the root by hand.
Method 2: The Sheet Mulching Technique
If you are dealing with a massive mature tree, or if you simply want to avoid heavy lifting, sheet mulching is an incredibly effective alternative. Often referred to as “lasagna gardening,” this method focuses on killing grass around trees naturally by starving the turf of sunlight.
Instead of digging the grass out, you smother it. First, mow the grass inside your designated circle on the absolute lowest setting your mower allows. You want to scalp the grass down to the soil. Next, thoroughly water the area to hydrate the soil microbes.
Take large, unwaxed, undyed cardboard boxes (remove all packing tape and staples) or thick layers of newspaper, and lay them directly over the scalped grass. You must overlap the edges of the cardboard by at least six inches; otherwise, aggressive grass varieties will easily find the seams and push their way through to the sunlight.
Thoroughly wet the cardboard to help it mold to the contour of the ground and begin the decomposition process. Finally, cover the cardboard layer entirely with three to four inches of high-quality organic mulch. The darkness will naturally kill the turfgrass underneath over the course of a few weeks. Eventually, the grass and the cardboard will decompose completely, feeding the soil beneath and leaving you with a pristine, nutrient-rich mulch ring.
Method 3: Using a Mechanical Sod Cutter
For property owners converting large swaths of lawn into forested beds, a mechanical sod cutter can save days of backbreaking labor. You can rent these walk-behind machines from most local hardware stores. The machine uses a vibrating blade to slice cleanly underneath the turf, allowing you to roll the grass up like a carpet.
However, arborists generally advise against using heavy sod cutters directly underneath mature trees. The blade of a sod cutter is uncompromising and cannot differentiate between a grass root and a vital tree root. If your tree has a shallow root system, a sod cutter can sever hundreds of essential feeder roots or cause massive structural damage to larger anchor roots. If you choose this method, use the machine only near the outer edges of the drip line, and revert to manual skimming or sheet mulching as you move closer to the trunk.
Method 4: Solarization
Solarization utilizes the heat of the sun to essentially bake the turfgrass to death. This method works best during the peak of summer in areas that receive full, unshaded sunlight—though it may be less effective directly under the dense canopy of a heavily foliated shade tree.
To solarize the grass, mow it extremely short and water the soil. Then, stretch a clear, heavy-duty plastic tarp tightly over the area and bury the edges in the soil to trap the heat inside. Over a period of four to eight weeks, the trapped solar radiation will heat the top layer of soil to temperatures high enough to kill grass, weed seeds, and soil-borne pathogens. Once the grass is completely dead and dried out, you can easily rake it away before replacing grass with mulch around trees.
Replacing Grass with Mulch Around Trees: Step-by-Step
Once you have successfully cleared the turf using one of the methods above, you are ready to transition the space. Knowing how to create a mulch ring around trees correctly is just as important as the removal process itself. Applying the wrong material or layering it incorrectly can undo all your hard work.
Selecting the Right Type of Mulch
Not all mulches are created equal, and trees have strong preferences. You generally have a choice between organic and inorganic mulches. Inorganic mulches—like shredded rubber, river rock, or gravel—do not break down. While they might suppress weeds, they provide absolutely zero nutritional value to the soil, reflect unwanted heat up into the tree canopy, and can eventually compact the earth underneath them. Avoid inorganic mulches around trees.
For organic options, standard wood chips or shredded bark represent the best choices. Bark mulch looks uniform and aesthetically pleasing, breaking down slowly over time. However, the absolute best material you can use is “arborist wood chips.” These are the rough, un-composted chips created when a tree care company grinds up branches and leaves. Arborist chips contain a perfect mixture of carbon (the woody material) and nitrogen (the green leaves). As this diverse mixture decomposes, it mimics the natural litter of a forest floor, fostering incredible fungal networks in the soil that form symbiotic relationships with your tree’s roots.
Try to avoid heavily dyed mulches (the bright red or jet-black varieties). The dyes themselves are usually harmless, but dyed mulch is frequently manufactured from recycled waste wood, such as old pallets or construction debris, rather than nutrient-rich organic tree matter.
Spreading the Mulch
Once your bare soil or cardboard layer is prepped, begin shoveling your chosen mulch into the ring. Use a pitchfork or the back of a hard rake to spread the material evenly. Your goal is to create a flat, uniform layer that resembles a protective pancake over the root zone.
Do not pile the mulch up heavily in the center and taper it off at the edges. The depth should remain consistent from the outer boundary of the ring all the way inward until you are a few inches away from the trunk itself.
How to Mulch Around Trees Properly: Best Practices
The final application of the mulch is where many well-intentioned property owners accidentally cause severe, long-term damage to their trees. Learning how to mulch around trees properly requires adhering strictly to a few arboricultural rules.
Avoiding the Dreaded “Mulch Volcano”
If you drive through almost any suburban neighborhood or commercial parking lot, you will see it: mulch piled high up against the trunks of trees, resembling a steep volcano. This is arguably the most destructive landscaping practice in modern horticulture.
Tree bark evolved to protect the tree from the open air. It needs to remain dry to function correctly and exchange gases with the atmosphere. When you pile moist, decomposing organic matter directly against the trunk, you trap moisture against the bark. Over time, this constant dampness causes the bark to rot and decay, creating a perfect entry point for bacterial infections, fungal pathogens, and wood-boring insects.
Furthermore, when the trunk is buried in mulch, the tree becomes confused. Thinking it is buried deeply in soil, the tree will often begin growing “adventitious roots” directly out of the trunk into the mulch volcano. As these roots grow larger, they wrap around the base of the tree. When the roots expand in diameter, they eventually choke the main trunk, cutting off the vascular system in a process called “stem girdling.” This will slowly, inevitably kill the tree.
Keeping Mulch Away from the Root Flare
To avoid creating a mulch volcano, you must respect the root flare. The root flare (or trunk flare) is the distinct, bell-shaped area at the base of the tree where the trunk widens and transitions into the primary structural roots.
The root flare must always remain visible and exposed to the open air. When you spread your mulch, leave a bare gap of about two to four inches between the edge of the mulch and the actual trunk of the tree. The mulch should look like a flat donut around the tree, with the trunk sitting securely and visibly in the center hole. If you cannot see the root flare of your tree, pull the existing soil and mulch back with your hands until you find it.
Maintaining the Right Depth
More is not always better when it comes to mulch. If the layer is too thin, it will not suppress weeds or insulate the soil effectively. If the layer is too thick, it can restrict oxygen flow to the soil and prevent light rain from reaching the root zone.
The sweet spot for organic mulch is between two and four inches deep. If your soil is heavy, dense clay, lean closer to the two-inch mark to ensure adequate aeration. If your soil is sandy and drains rapidly, a four-inch depth will help trap and retain valuable moisture.
Long-Term Maintenance of Your Tree’s Mulch Ring
Once you have done the hard work of removing the grass and establishing a proper mulch ring, maintaining it requires very little effort.
Weed Control and Replenishing Mulch
Because organic mulch breaks down over time—feeding your tree in the process—the layer will gradually become thinner. You will need to replenish the mulch every one to two years to maintain that optimal two-to-four-inch depth. Before adding new mulch, use a rake to break up and fluff the old, existing layer. Mulch can sometimes form a hardened crust on the surface that repels water; fluffing it up restores its porosity.
Occasionally, stubborn weeds or rogue grass runners may pop up through the mulch. Because the soil underneath is now loose and friable, these weeds are incredibly easy to pull out by hand. Avoid spraying chemical herbicides directly inside the mulch ring, as the tree’s shallow feeder roots can easily absorb these chemicals, leading to canopy damage or defoliation.
Monitoring Tree Vitality
As the seasons change, monitor your tree’s response to its new environment. Without the stress of competing turfgrass, you should notice enhanced leaf color, more vigorous branch extension, and a generally healthier appearance within the next growing season.
Conclusion
Understanding how to remove grass to mulch around trees is a vital step toward responsible landscape management. By carefully extracting competing turfgrass using manual digging or sheet mulching and replacing it with a generous, properly applied layer of organic wood chips, you are fundamentally transforming the soil ecosystem. You eliminate mechanical threats from lawn equipment, stabilize soil temperatures, and provide your tree with exclusive access to the water and nutrients it needs to thrive. Remember to always respect the root flare, avoid the destructive “mulch volcano” at all costs, and maintain a consistent, flat layer of organic material.
Taking proactive steps to care for your tree’s root zone ensures that your landscape investments will grow robustly for generations. However, root zone management is just one aspect of holistic tree care. If you are unsure about the current health of your trees, or if you need professional guidance on executing major landscape changes without damaging vital root systems, our certified arborists are here to help. Please contact our team at Taylor Expert Arborists today to schedule a consultation and ensure your trees receive the expert care they deserve.


